To install the Google Search Console in Utas, you must Activate Custom Domain first. Google Search Console will not work for tracking without activating the custom domain.
You can follow these steps to install Google Search Console in Utas:
Add a Property and Get the Google Site Verification
After activating the Custom Domain, create a new property and copy the verification code. Do the following steps:
- Create a new Property in Google Search Console by choosing Awalan URL.
- Type the URL in the form of the Custom Domain of your Utas Profile (complete with https).
- Select Tag HTML as the verification method.
- Copy the Tag Meta Code that is provided by the Google Search console.


Installing Google Search Console in Utas
- Log in to app.utas.co.
- Click Menu Integration.
- Click the Analytics tab on the Integration page.
- Choose 1 of 2 this method :
Method 1
- Paste the Tag HTML Code in the Google Site Verification field.
- Click the Save Changes button.

- Click OK in the pop-up notification.
- Go to the Verification Step.
Method 2
- Type meta name field with value: google-site-verification.
- Type meta content field with value from Tag HTML Code that you copied before. Example: EQDiGWbuZ2fvZ_xxxxx.
- Click the Save Changes button.

- Click OK in the pop-up notification.
- Go to the Verification Step.
Verifying the Property
- Go back to the Google Search Console dashboard.
- Click the Verification button.

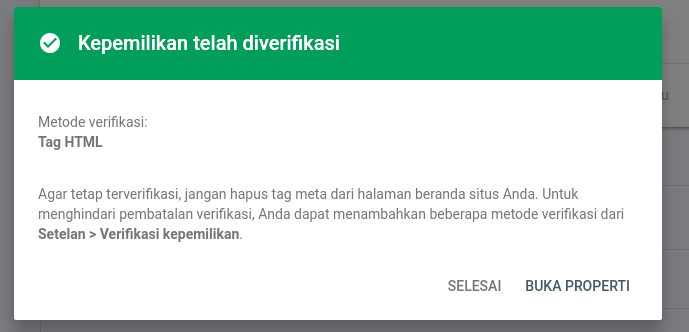
- Wait for the verification process. If successful, a pop-up message will appear like this image below:
- Now the Google Search Console has been installed in your Utas Profile.
- Done.